Are you tired of your old, worn-out carpet and ready for a fresh look? Wondering how to remove carpet without damaging your flooring?
Removing carpet is simpler than you might think. With the right tools and clear instructions, you can remove carpet in just a few steps, preparing your floor for its next transformation.
Removing carpet might seem daunting, but you can efficiently transform your home with the right tools and steps. Whether upgrading your flooring or removing old, worn-out carpet, this guide will ensure a seamless and stress-free process.
Why Should You Remove Carpet?
Old carpet can harbor dirt, allergens, and bacteria, making it a health hazard for you and your family. Over time, carpets absorb odors, trap dust mites, and can become a breeding ground for mold. Removing the carpet is the first step to refreshing your space if you’re dealing with stains, worn-out fibers, or a look that doesn’t match your aesthetic.
Top Reasons for Carpet Removal
- Improved Hygiene: Old carpets trap allergens and dirt.
- Better Air Quality: Removal reduces trapped dust and odors.
- Style Upgrade: A new floor boosts home aesthetics.
Tools and Materials Needed for Carpet Removal
To ensure a smooth carpet removal process, gather these essential tools and materials beforehand:
- Utility Knife: Cut the carpet into manageable sections.
- Pliers: For pulling up carpet edges and staples.
- Pry Bar: To remove tack strips without damaging the subfloor.
- Gloves and Safety Gear: For protection from sharp objects and dust.
- Staple Remover: This makes removing staples easier and quicker.
- Vacuum Cleaner: To clean the subfloor after removal.
- Duct Tape: To secure rolled carpet strips.
- Knee pads: Reduces strain while working on the floor.
- Adhesive remover and scraper: Helps with stubborn glue or backing.
Step 1: Prepare for Removal Carpet
Proper preparation lays the foundation for an efficient and hassle-free carpet removal process. Skipping this step could lead to unnecessary delays and complications.
Clear the Space
- Remove Furniture and Decor: Begin by emptying the room. Move furniture, rugs, and other items to another space to create a clutter-free work area.
- Protect Nearby Areas: Use plastic sheeting or painter’s tape to seal vents, doorways, and adjacent spaces. This prevents dust from spreading throughout your home.
- Inspect the Carpet: Examine the existing carpet for stains, damage, or signs of mold. Identifying these issues early will help you address them later.
Put on Protective Gear
- Safety First: Carpet removal can expose you to allergens, dust, and sharp objects. To minimize risks, wear gloves, goggles, and a dust mask.
- Dress Appropriately: Wear sturdy shoes and long sleeves to protect against scratches, staples, and other hazards.
Gather Necessary Tools
Before starting, ensure you have tools like a utility knife, pry bar, staple remover, trash bags, and duct tape. Having everything ready prevents delays and interruptions.
Step 2: Remove Carpet
Removing the carpet itself is a straightforward but labor-intensive task. Breaking it into smaller steps makes the process manageable.
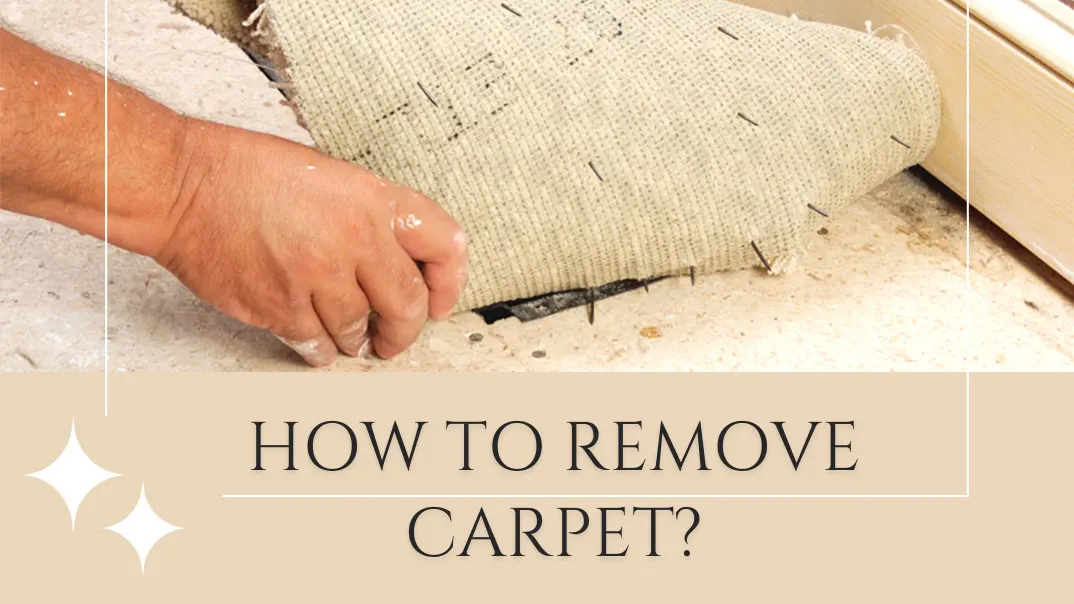
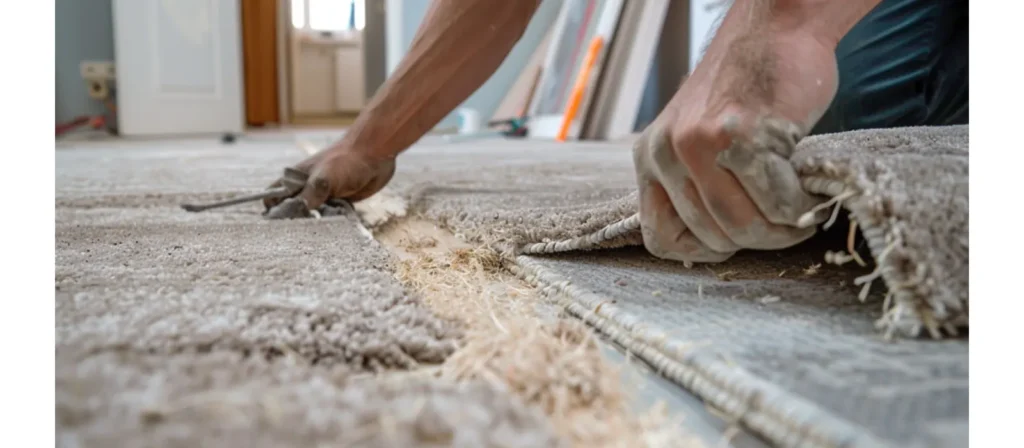
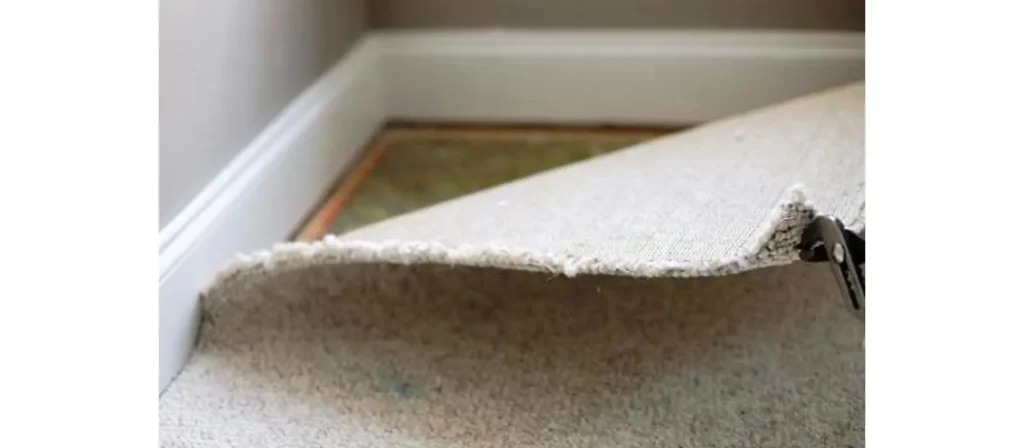
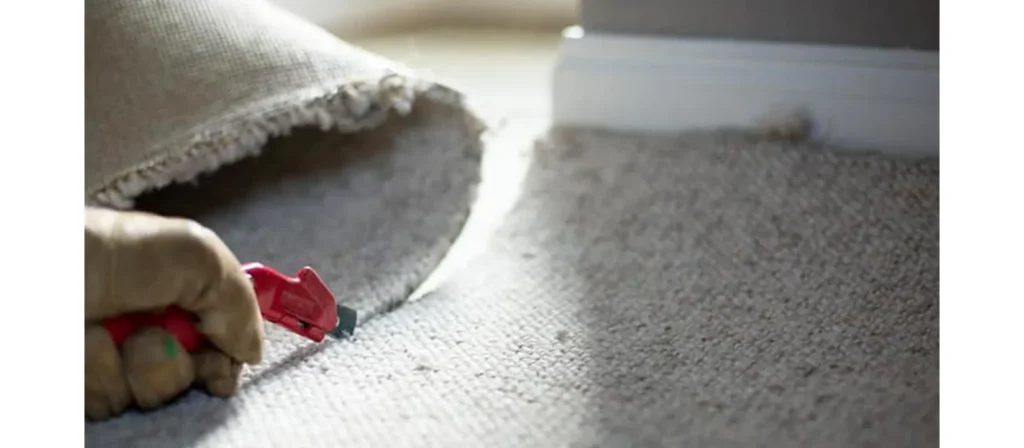
Remove Carpet from Tack Strips
- Start in a corner: Locate a corner of the carpet and use pliers to lift it away from the tack strips.
- Loosen sections: Slide your hand under the carpet to gradually separate it from the tack strips. Work slowly to avoid damaging the subfloor.
- Work around the edges: Continue pulling the carpet along the walls, ensuring the edges are free from tack strips.
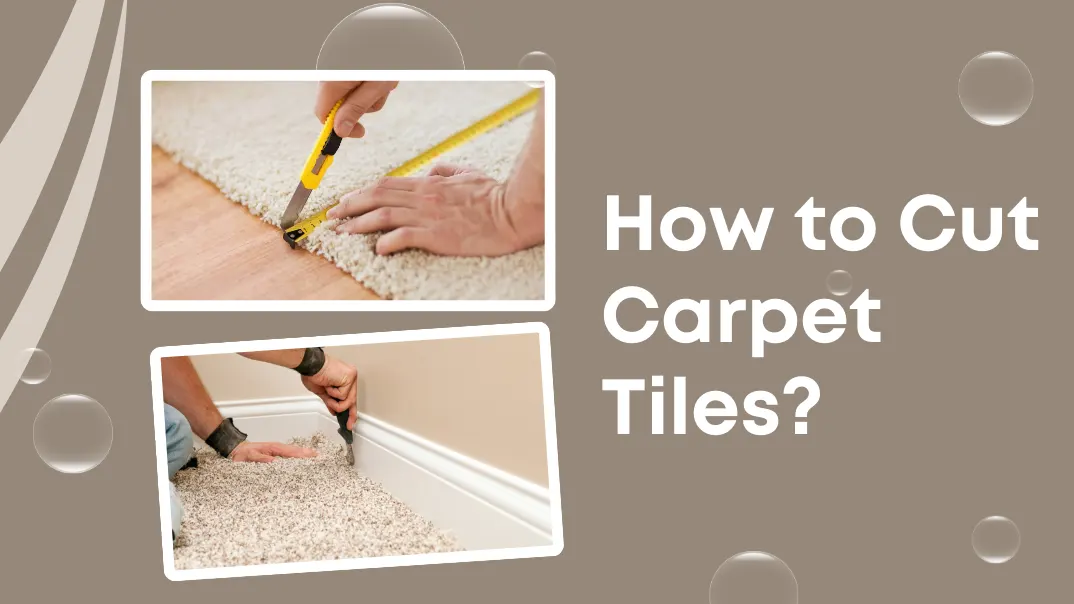
Cut Carpet into Strips
- Measure manageable sections: Cut the carpet into 2-3 foot-wide strips using a utility knife.
- Cut from the back: Flip the carpet over and cut along the backing for a smoother and safer cut.
- Mark sections if necessary: Label sections to organize disposal or if specific areas require special attention.
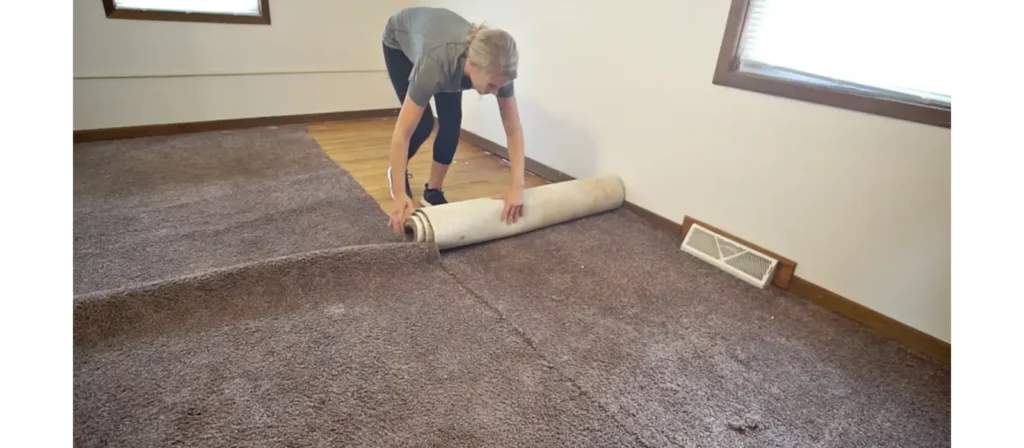
Roll Up and Remove Carpet
- Roll tightly: Roll each strip tightly to save space during disposal.
- Secure with tape: Use duct tape to keep rolls compact and prevent unrolling.
- Dispose properly: Place the rolls in heavy-duty garbage bags or consult local guidelines for recycling or disposal.
Step 3: Handle Carpet Backing
The carpet backing, often glued or stapled to the subfloor, requires careful handling to avoid damage.
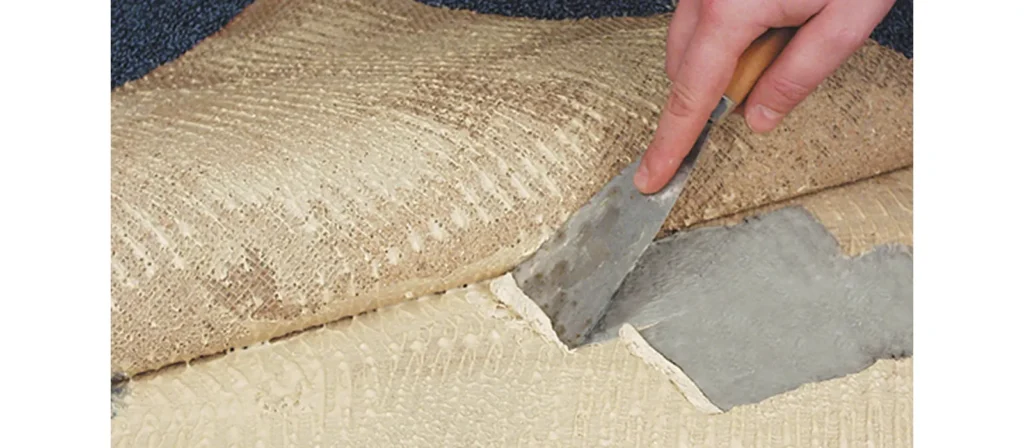
Remove Adhesive Backing
- Use a scraper: For glued backing, use a putty knife or floor scraper to loosen it.
- Apply adhesive remover: For stubborn adhesive, use a commercial or DIY solution, such as warm water with dish soap or vinegar.
- Work in sections: Break the task into smaller areas to maintain focus and efficiency.
Remove Stapled Backing
- Identify staples: Look for staples left in the subfloor after removing the carpet.
- Use pliers or a staple remover: Grip each staple firmly and pull it out at an angle to prevent splintering the subfloor.
- Collect stray staples: Use a magnetic tool to gather stray staples and prevent injury or damage later.
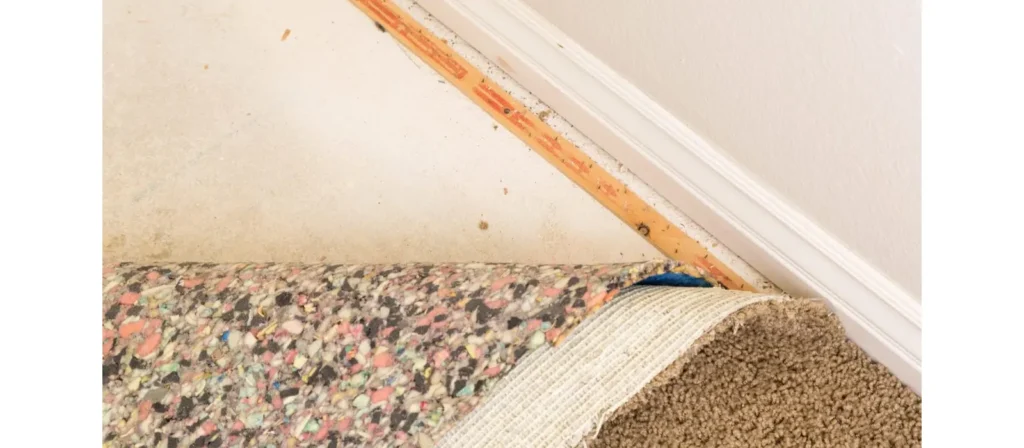
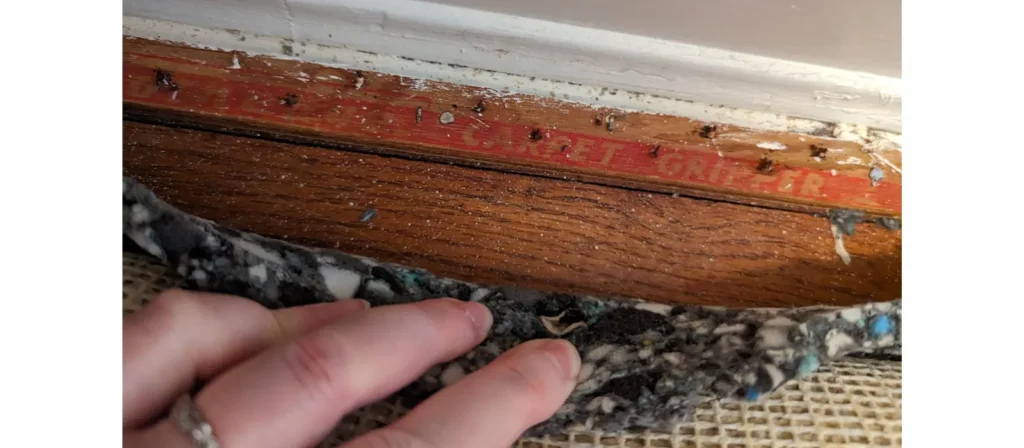
Step 4: Handle Tack Strips
Tack strips are narrow wooden strips with nails that hold the carpet in place. They need careful handling during removal to avoid injury or subfloor damage.
Inspect Tack Strips
- Check Condition: Examine the tack strips for signs of rust, breakage, or wear. If they are in good shape, you might be able to reuse them.
- Plan Removal: For damaged or outdated tack strips, removal is essential to prepare for new flooring.
Remove Damaged Tack Strips
- Loosen with a Pry Bar: Insert a pry bar under the tack strip near the nails. Apply gentle upward pressure to lift it.
- Work in Small Sections: Move along the strip, removing one nail at a time to avoid splitting the wood or damaging the subfloor.
- Dispose of Tack Strips: Wrap the removed strips in heavy-duty trash bags to contain sharp edges before disposal.
- Patch subfloor if needed: If nails or splinters leave minor damage, use wood filler to repair the area.
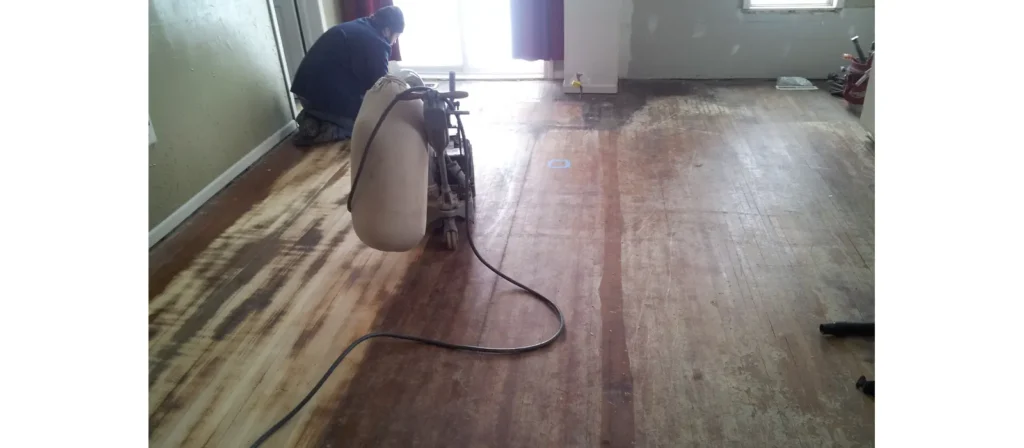
Step 5: Clean and Prepare the Subfloor
Preparing the subfloor ensures a solid foundation for the new flooring you install.
Inspect for Damage
- Look for Imperfections: Examine the subfloor for cracks, holes, or uneven areas. These issues must be addressed to prevent problems with your new flooring.
- Repair Damages: Use wood filler for minor holes or self-leveling compound for uneven areas. Allow repairs to dry completely before moving forward.
Clean the Subfloor
- Sweep or Vacuum Thoroughly: Use a broom or vacuum to remove all dust, dirt, and debris from the subfloor.
- Spot Clean Sticky Residue: If adhesive or stains remain, use a damp cloth with a mild cleaner to remove them. Ensure the floor is completely dry before proceeding.
- Final Check: Run your hand over the floor to ensure it’s smooth and debris-free. A clean surface is crucial for the success of your next flooring project.
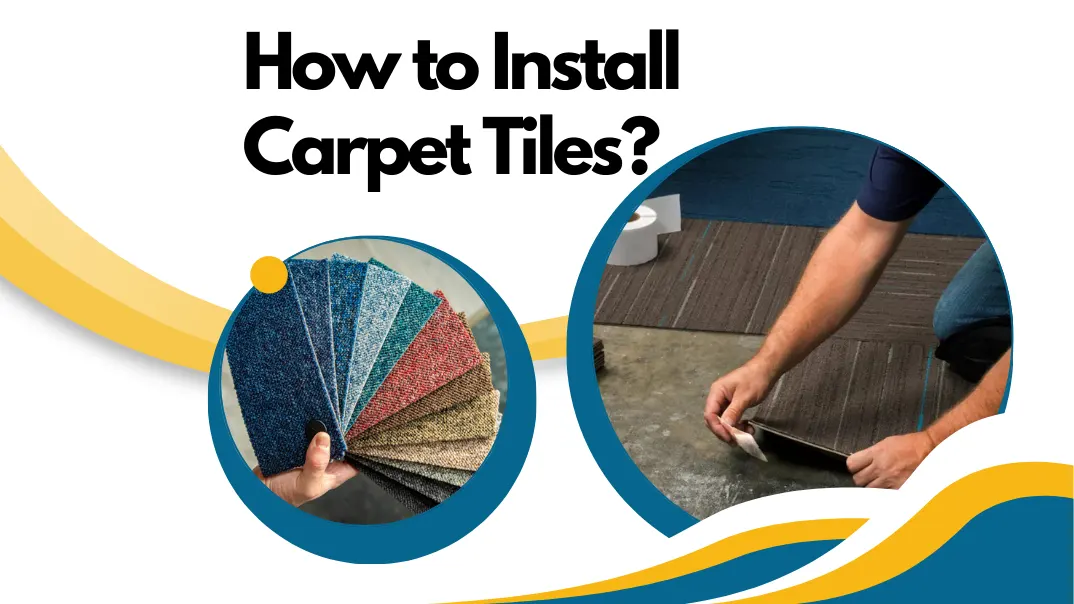
- Preparing for New Flooring: After cleaning and repairing the subfloor, lay and install new carpet tiles as needed.
Special Considerations for Carpet Removal
Before diving into carpet removal, there are a few special factors to consider. These considerations can save you time, effort, and money while ensuring the process goes smoothly.
1. Check for Asbestos or Mold
If your carpet is older or has been exposed to moisture, it’s crucial to check for potential health hazards like asbestos or mold.
- Asbestos: Some carpets and padding installed before the 1980s may contain asbestos. If you suspect this, don’t attempt removal yourself—hire a licensed professional to avoid health risks.
- Mold: If the carpet has water stains, discoloration, or a musty odor, inspect it for mold. Mold can spread quickly and should be handled carefully using protective gear and proper disposal methods.
2. Verify Subfloor Material
Understanding your subfloor material is key to protecting it during carpet removal. For example:
- Wooden subfloors are prone to damage from aggressive scraping.
- Concrete subfloors may have adhesive residue that requires chemical removal.
3. Subfloor Preservation
- Avoid damage: Use pry bars and putty knives carefully to avoid gouging or cracking the subfloor.
- Check for moisture: Look for signs of water damage, especially in basements or near windows.
- Protect hardwood floors: If removing carpet from hardwood, use gentle techniques to avoid scratches or dents.
4. Adhesive Residue
- Choose appropriate removers: Select a floor-safe adhesive remover for glue-bound carpets.
- Test in small areas: First, test your remover on a hidden section of the subfloor to avoid discoloration or damage.
5. Health and Safety
- Dust and allergens: Use a high-efficiency particulate air (HEPA) filter vacuum to remove allergens trapped in old carpet.
- Ventilation: Ensure proper airflow to reduce inhalation of dust or fumes from adhesive removers.
- Protective equipment: Wear gloves, knee pads, and dust masks for safety during removal.
Removal Carpet Tips
Use these professional tips to make the carpet removal process easier and safer:
- Work in Sections: Always remove carpet one section at a time. This reduces clutter and keeps the workspace manageable.
- Keep Tools Sharp: Dull knives and scrapers can make the process difficult and lead to uneven cuts.
- Dispose As You Go: Roll up and bag each section after removal to maintain a clean and organized workspace.
- Minimize Dust: Use a spray bottle to mist the carpet before removal to reduce airborne dust lightly.
- Recruit Help: For large rooms or heavy carpets, enlist a helper to speed up the process and reduce physical strain.
Handle Old Carpet
Removing the carpet is only half the job. The next step is to handle the waste efficiently and in an environmentally friendly manner, according to local regulations.
1. Recycling Options
Did you know carpets can often be recycled? Many carpets are made from nylon or polyester, which can be reused to create new products. Here’s how you can recycle your old carpet:
- Contact local recycling centers: Many facilities accept old carpets for recycling. Call ahead to confirm they can handle your type of carpet.
- Check manufacturer programs: Some carpet manufacturers have recycling programs and may offer pick-up services.
- Repurpose it yourself: Smaller sections of carpet can be used as rugs, garage floor liners, or padding for moving heavy furniture.
Recycling reduces the amount of waste sent to landfills and gives your old carpet a new life.
2. Proper Disposal Techniques
If recycling isn’t an option in your area, you must dispose of the carpet responsibly. Follow these steps for proper disposal:
- Cut and bag the carpet: Cut it into smaller strips and place them in heavy-duty trash bags. This makes it easier to transport and complies with most municipal waste rules.
- Arrange for bulk trash pickup: Contact your local waste management service to schedule a bulky pickup. Many cities offer this service for large items like carpets.
- Rent a dumpster: If you’re working on a larger renovation project, renting a dumpster may be the most efficient way to dispose of carpet, padding, and other debris.
FAQs About Carpet Removal
- Can I reuse the old carpet?
Yes, if the carpet is in good condition, it can be repurposed or donated. - What do I do with leftover staples?
Remove and dispose of staples carefully. A magnetic tool can help locate stray staples. - How do I handle glued carpets?
Use an adhesive remover or heat gun to soften the glue for easier removal. - Is carpet removal messy?
Yes, but vacuuming and using garbage bags can minimize the mess. - Can I install new flooring immediately?
Ensure the subfloor is clean and dry before laying new flooring. - Can I remove carpet myself?
Yes, carpet removal is a manageable DIY project with the right tools and preparation. - What should I do if I find asbestos under the carpet?
Stop immediately and contact a professional for proper handling and removal. - Is it necessary to remove tack strips when replacing the carpet?
If the tack strips are in good condition, you can leave them for the new carpet installation. - How much does professional carpet removal cost?
Professional services typically charge $1–$3 per square foot, but DIY removal can save money.
Conclusion
Removing the carpet may seem like a big job, but with proper preparation and step-by-step guidance, it becomes a straightforward DIY project. By following this guide, you’ll save money, learn new skills, and be one step closer to achieving the flooring of your dreams.